Development with XIAO ESP32-S3
As a part of the THA-LPRD project, we were using the Seeed Studio XIAO ESP32S3 board for the development of the project. In this guide, you will find how we have configured the development environment for the board.
Prerequisites
ESP-IDF
The ESP-IDF is the official development framework for the ESP32 SoCs. It is based on FreeRTOS and uses CMake build system. It can be installed on Windows, Linux and macOS. Here we are going to cover the Linux installation but feel free to check the Windows installation guide or the Linux and macOS installation guide in the official documentation.
-
Install the required packages for the ESP-IDF installation.
Terminal window sudo apt-get install git wget flex bison gperf python3 python3-pip python3-venv cmake ninja-build ccache libffi-dev libssl-dev dfu-util libusb-1.0-0Terminal window sudo yum -y update && sudo yum install git wget flex bison gperf python3 cmake ninja-build ccache dfu-util libusbxTerminal window sudo pacman -S --needed gcc git make flex bison gperf python cmake ninja ccache dfu-util libusb -
Clone the ESP-IDF repository.
Terminal window mkdir -p ~/dev/embedded/frameworks/ESP-IDF/v5.1.4cd ~/dev/embedded/frameworks/ESP-IDF/v5.1.4git clone -b v5.1.4 --recursive https://github.com/espressif/esp-idf.git -
Set up the tools.
Terminal window cd esp-idfexport IDF_TOOLS_PATH="$HOME/dev/embedded/frameworks/ESP-IDF/v5.1.4/espressif"./install.sh esp32 esp32s3Terminal window cd esp-idfset -x IDF_TOOLS_PATH "$HOME/dev/embedded/frameworks/ESP-IDF/v5.1.4/espressif"./install.fish esp32 esp32s3 -
Set up the environment variables.
Terminal window source ./export.sh
Setup Development Environment
Now that you have installed all the necessary tools, we can start setting up the necessary bits to be able to develop for the board.
First, we need to clone the repository that contains the necessary scripts and files to work with the board.
git clone --recurse-submodules https://github.com/THA-LPRD/MCU.gitAnd navigate to the directory.
cd MCUBuild the Firmware
You can build the firmware for the board with the fallowing command.
idf.py -B build/debug -DLPRD_DEBUG=ON buildidf.py @profiles/release/release buildThis will build the firmware for the board with the specified profile in the build directory under respective profile directory.
Flash the Firmware
You can flash the firmware to the board with the fallowing command.
idf.py -B build/debug -DLPRD_DEBUG=ON flashidf.py -B build/release -DLPRD_DEBUG=OFF flashMonitor the Output
You can monitor the output of the board with the fallowing command
idf.py -B build/debug -DLPRD_DEBUG=ON monitoridf.py -B build/release -DLPRD_DEBUG=OFF monitorClean the Build
You can clean the build with the fallowing command.
idf.py -B build/debug -DLPRD_DEBUG=ON fullcleanidf.py -B build/release -DLPRD_DEBUG=OFF fullcleanYou can just remove the build directory too
Optional Tools
To optimize your development workflow, here are some practical tips for effectively utilizing Visual Studio Code and CLion.
Visual Studio Code
Espressif offers a VS Code extension for working with ESP-IDF projects. The repository already contains the necessary configuration files; you just need to set up the extension itself.
-
Install the
ESP-IDFextension.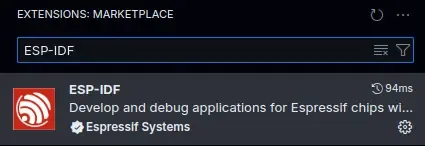
-
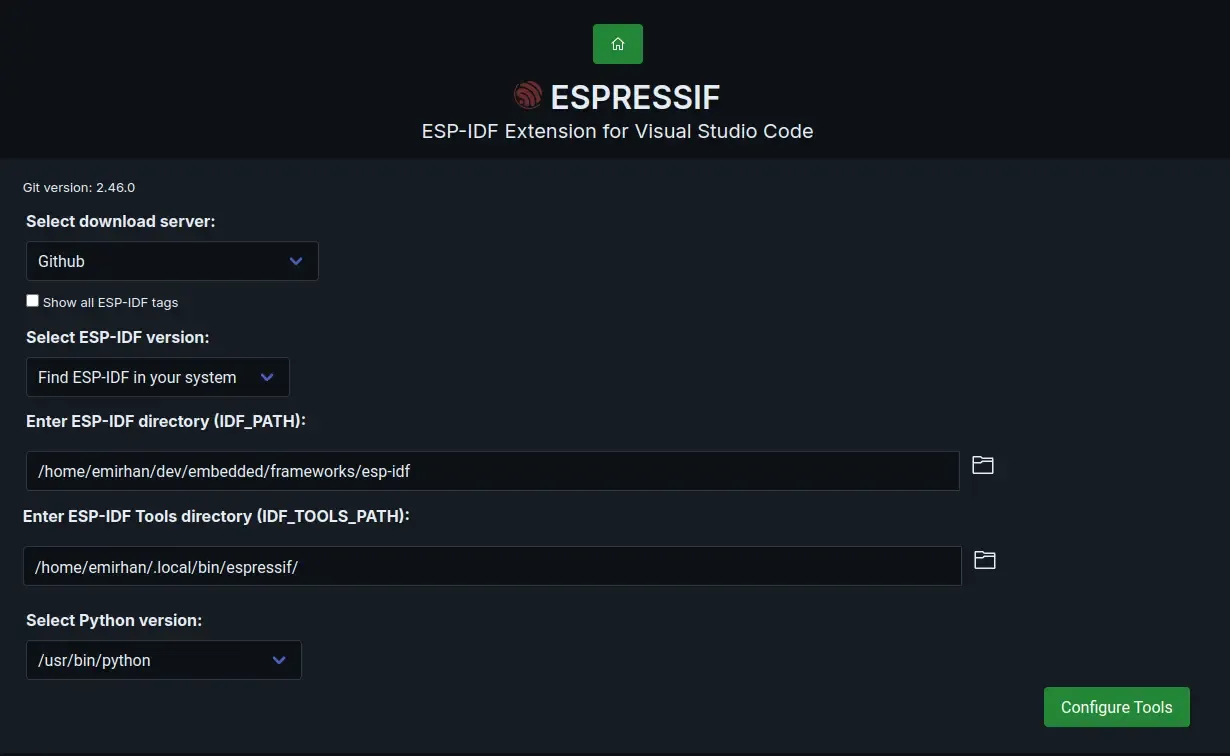
Open command palette with Ctrl+Shift+P and choose `ESP-IDF: Configure ESP-IDF Extension. Select Advanced and fill the fields to match your setup.
-
Select
Use existing ESP-IDF Toolsfrom dropdown and save the settings.
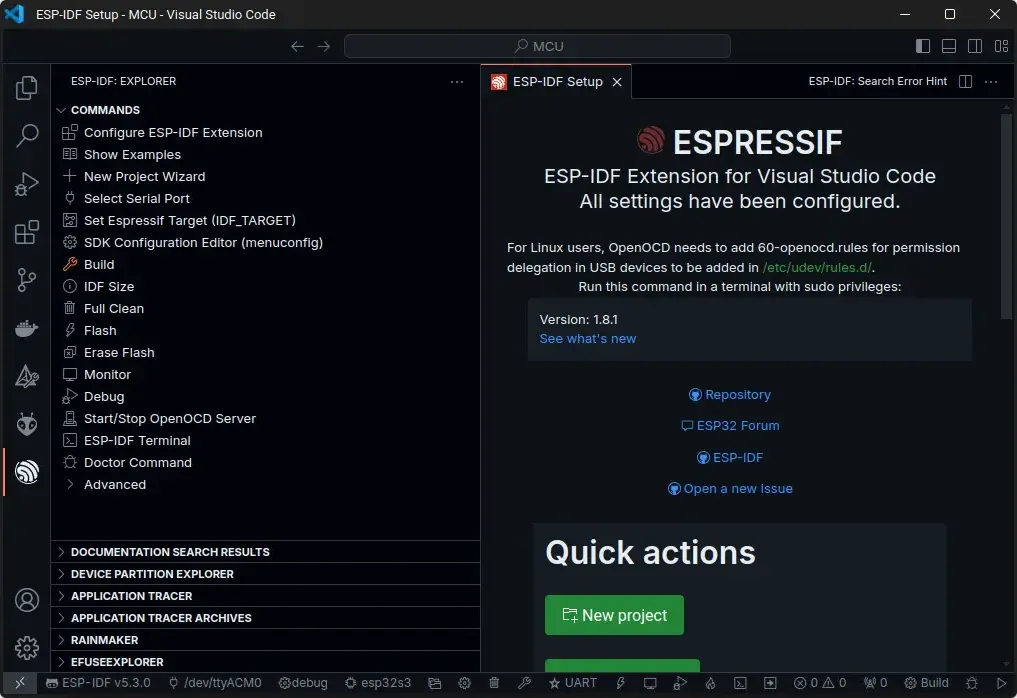
IntelliSense and other features should now work. To build, flash, and monitor the firmware, you can use the extension panel or the buttons in the status bar. Additionally, you can change the build profile as needed.
CLion
Clion natively supports CMake projects. We just need to configure the project to use the ESP-IDF toolchain.
-
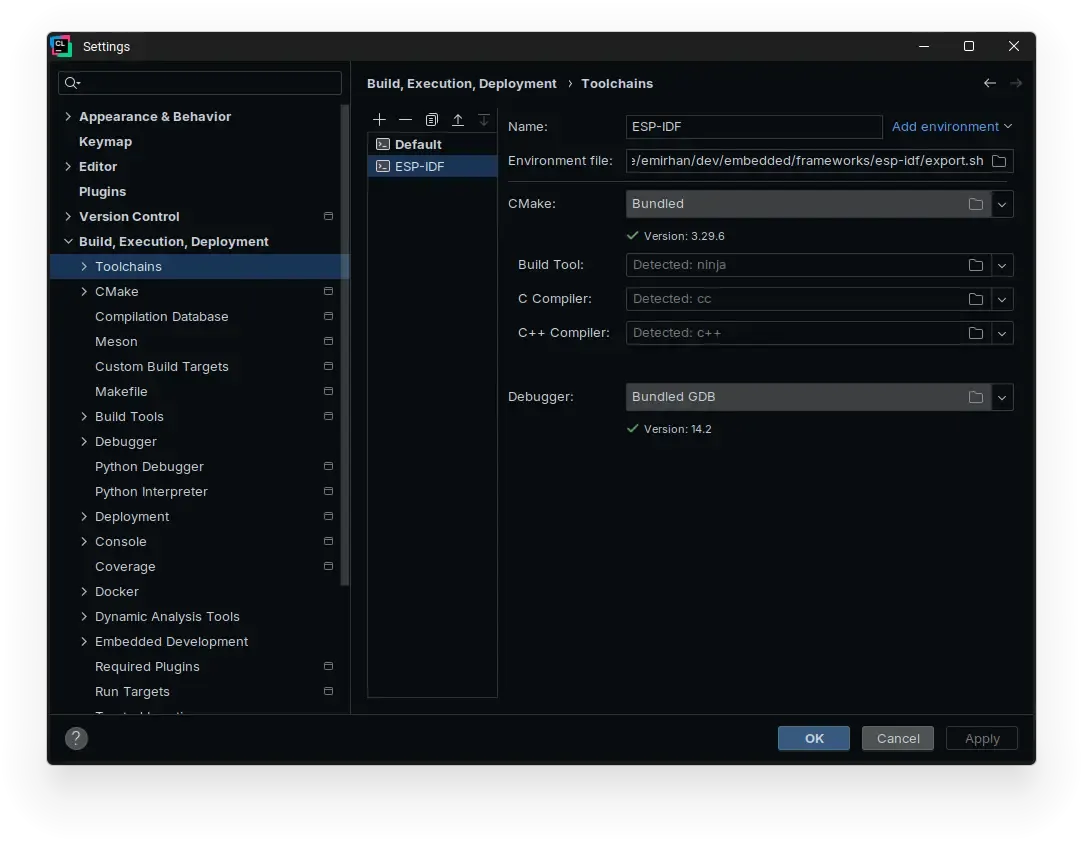
Go to Settings | Build, Execution, Deployment | Toolchain.
-
Click Add environment next to the Name field, then click From file.
-
Navigate to ~/dev/embedded/frameworks/ESP-IDF/esp-idf and select export.sh:
-
Save the toolchain settings.
Project should come with necessary CMake profiles for the project. If you need to edit them these can be found under Settings | Build, Execution, Deployment | CMake.
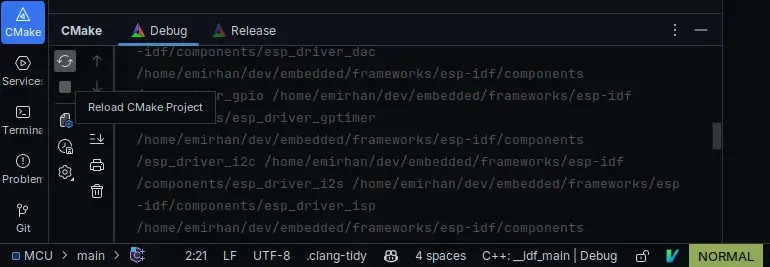
If you removed the build directory, or it’s not generated yet, you can generate it from CMake tab | Reload CMake Project.
Build the Firmware
Select the desired profile and CMake target app and click the hammer icon to build the firmware.
Flash the Firmware
Select the desired profile and CMake target flash and click the hammer icon to build the firmware.
Monitor the Output
Select the desired profile and CMake target monitor and click the hammer icon to build the firmware.
See also
- https://docs.espressif.com/projects/esp-idf/en/stable/esp32/get-started/linux-macos-setup.html#get-started-prerequisites
- https://docs.espressif.com/projects/esp-idf/en/latest/esp32/api-guides/build-system.html
- https://github.com/espressif/esp-idf/blob/6e5414b6/examples/build_system/cmake/multi_config/README.md
- https://www.jetbrains.com/help/clion/esp-idf.html
- https://github.com/microsoft/vscode-cmake-tools/blob/main/docs/README.md
- https://github.com/espressif/vscode-esp-idf-extension/blob/master/docs/tutorial/multiple_config.md
- https://docs.espressif.com/projects/esp-idf/en/v4.2.3/esp32/get-started/vscode-setup.html
- https://github.com/espressif/vscode-esp-idf-extension/blob/master/docs/tutorial/install.md